Activation
To be able to execute graphs, CloverDX Server requires a valid license. You can install and run CloverDX Server without any license, but no graph will be executed.
There are three ways of installing the license. They work on all application servers and can be used at the same time, but only the most recent valid license is used.
We recommend using the first and easiest option (for other options, see CloverDX Server Activation Alternatives):
CloverDX Server Activation using Web Form
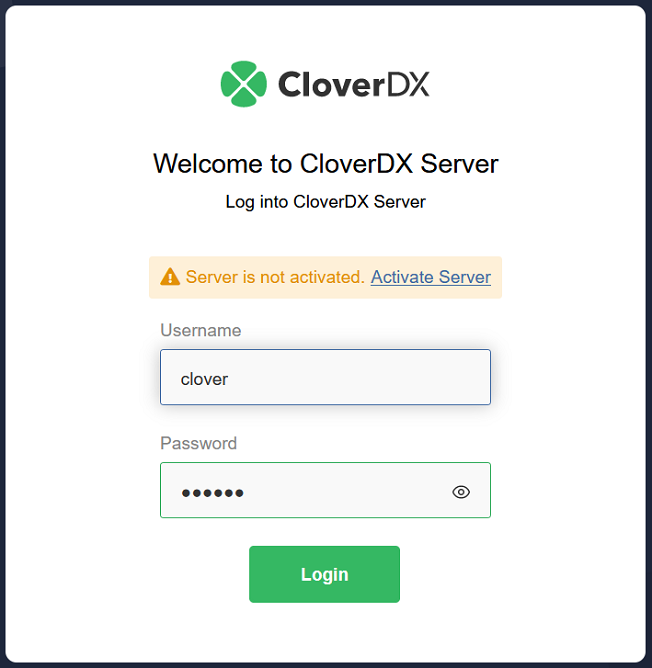
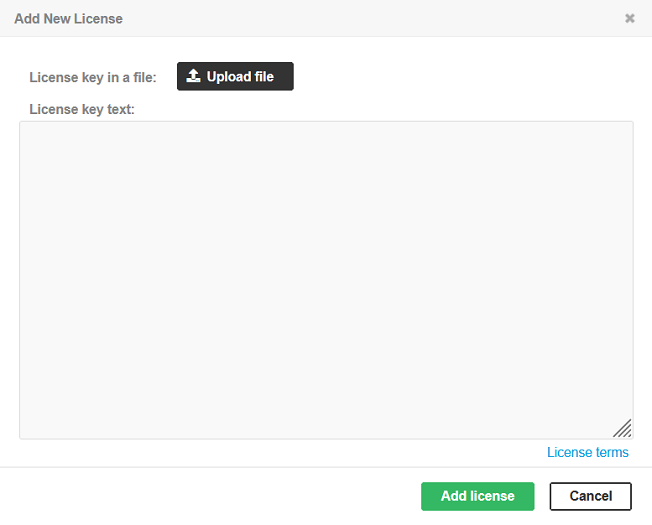
If the CloverDX Server has been started without assigning any license, click the Activate server link on the welcome page. You will be redirected to the Add New License form where you can upload the license file using the Browse button, or simply copy the license from the file and paste it into the License key text field.

After clicking the Update button, the license is validated and saved to the database. If the license is valid, a table with license’s description appears. To proceed to CloverDX Server console click Continue to server console.
You can skip adding a license by clicking the Cancel button.

Add CloverDX Server License in the Configuration Section
If the license has been already installed, you can still change it or add a new one by using form in the Server web GUI.
-
Go to
-
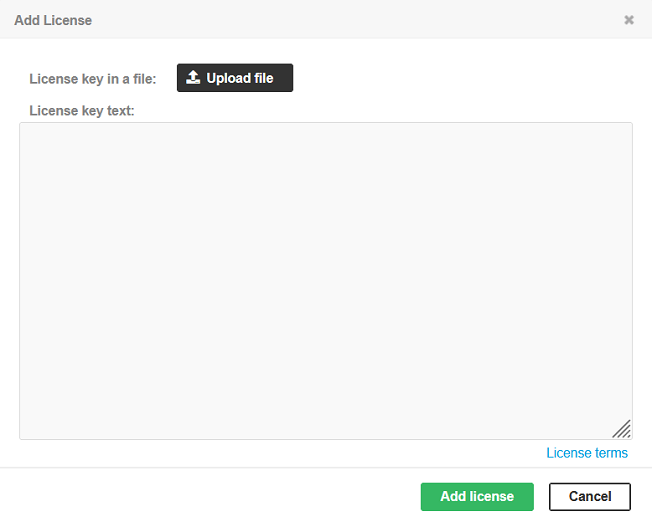
Click Add license
You can paste a license text into a License key text area or use the Browse button to search for a license file in the filesystem. To skip adding a license, click the Cancel button.
After clicking the Add license button, the license is saved to the database and all licenses are reloaded.

Remove CloverDX Server License in the Configuration Section
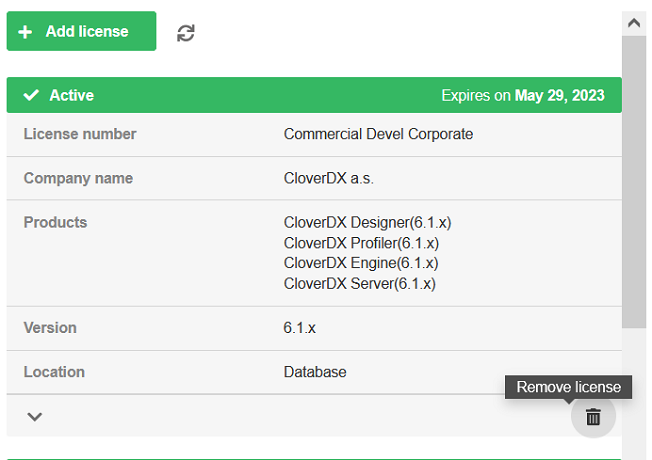
License can be removed from CloverDX Server if its stored in the server database.
-
Go to
-
Remove unwanted license by clicking on trash tray icon under the detail of the license.

|
The CloverDX license can be changed at any time by replacing
|
|
The license in the database is common for all nodes in the Cluster. Reloading of the license occurs on each node in the Cluster.
|

