15. Java Configuration
The JDK installed during CloverDX Designer installation is also used to compile and run your Java and CTL code in local projects. By default, the Designer is installed with the recommended Eclipse Temurin JDK version 17.
When running your jobs in a CloverDX Server environment, the jobs are run with the Java version configured in the Server environment. If your CloverDX Server runs on Eclipse Temurin JDK 17, there is no need to add a different JDK. If your Server environment runs on a different JDK (refer to our Compatibility Matrix here), the default Eclipse Temurin JDK version should in most cases work without an issue as well. However, if you want to ensure that you are developing your code with the same Java version as is configured on the server, you can add the desired JDK and globally change the Java used during runtime.
| Make sure to add a JDK (Java Development Kit) package. JRE (Java Runtime Environment) packages are not supported. |
If you want to switch to a different JDK, perform the steps below:
-
Go to Window > Preferences.
-
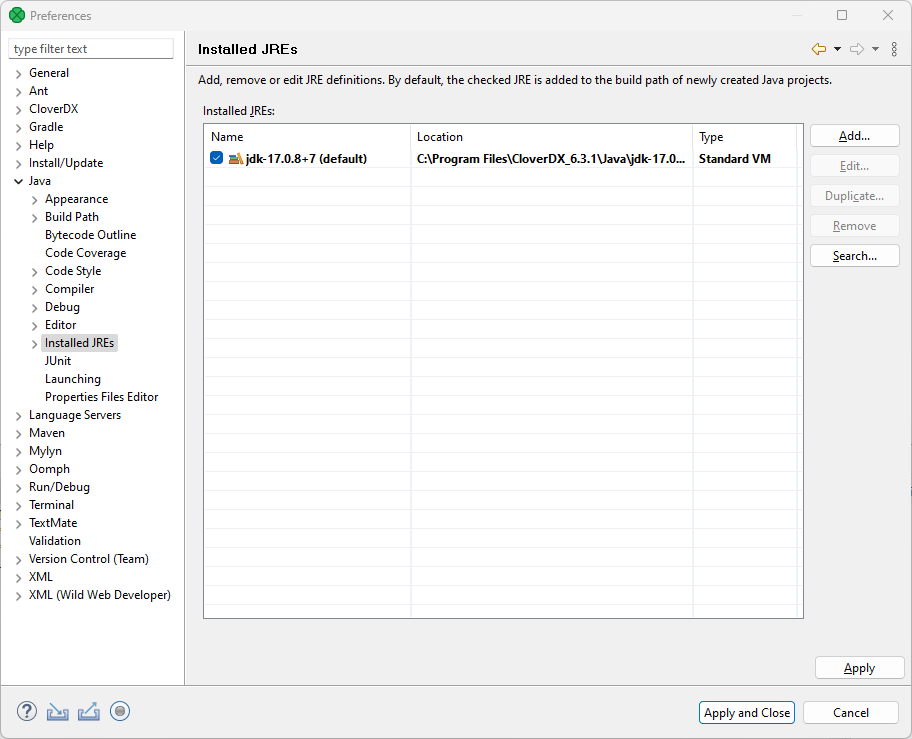
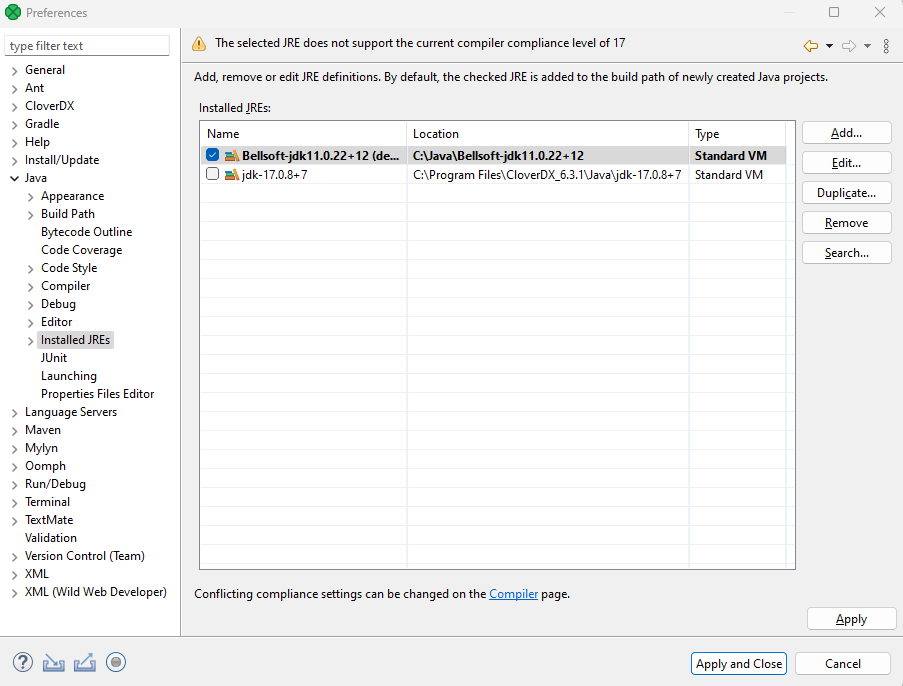
Navigate to Java > Installed JREs. By default, you will see the Java version selected during the Designer installation.

-
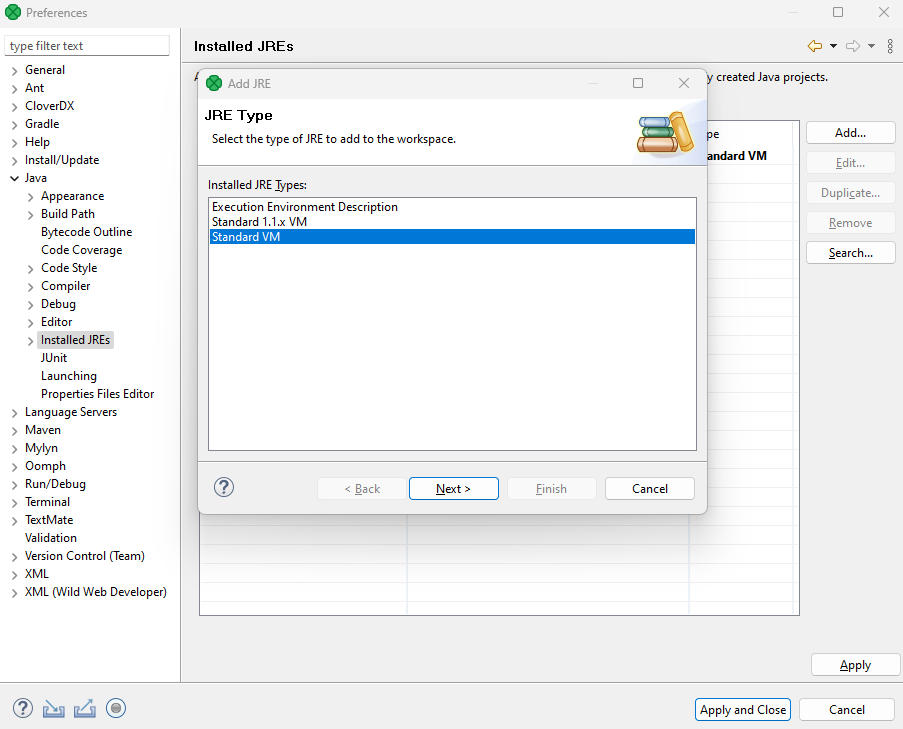
To add a new Java installation click on Add, select Standard VM, and hit Next.
-
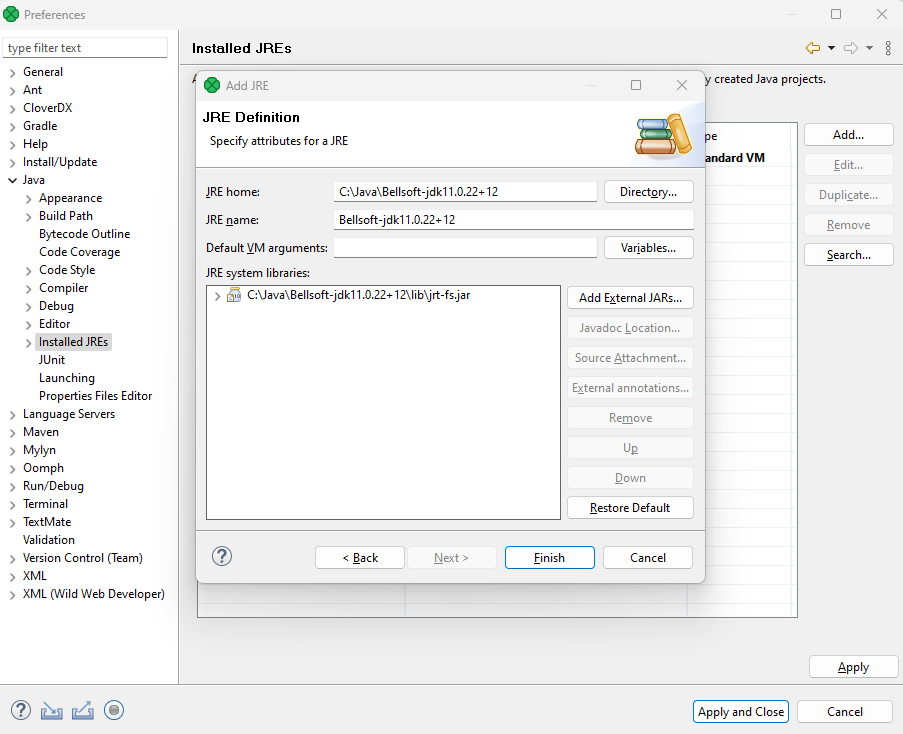
Select the directory of the desired JDK and click on Finish.
-
To start using the JDK, select the checkbox next to it. After saving this change, the JDK is automatically added to the build path of your projects.
-
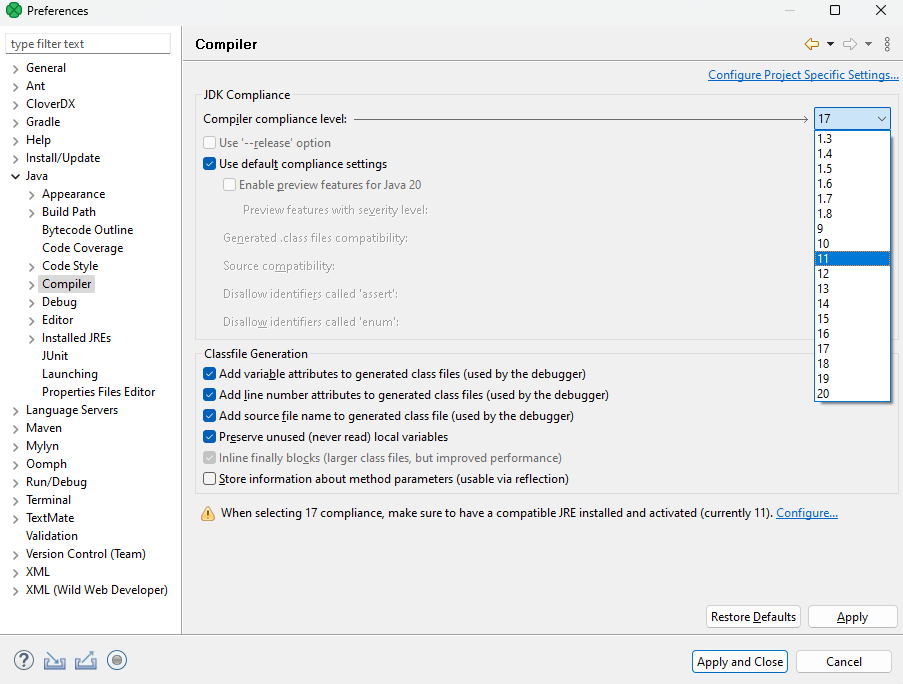
If you are switching to a different Java version than version 17, a compliance warning appears. To change the compliance level, click on the link at the bottom to be redirected to the Compiler section. Select the appropriate level here and save your changes.
