Setting Up the Filter Component
Double-click the Filter component to open the component editor.
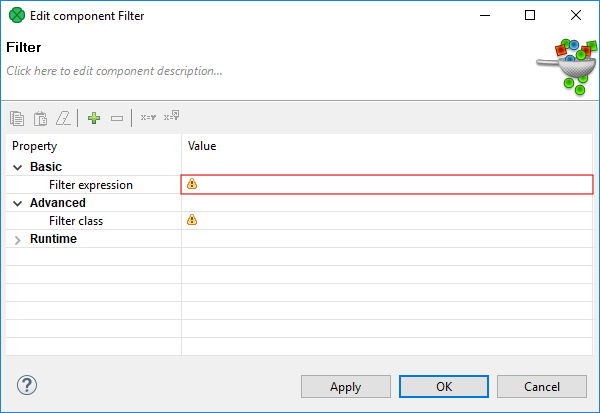
Figure 2.3. Component Editor - Filter Component Attributes
Click the Filter expression attribute row in the component editor. The Filter Editor will open:
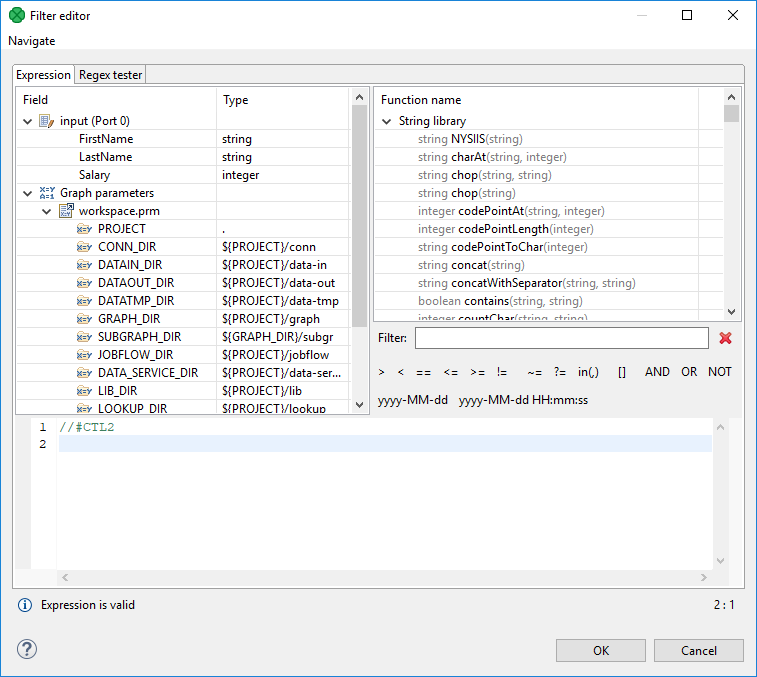
Figure 2.4. Filter Editor
Select the salary item and double-click it.
The $in.0.salary expression will appear on the blue
background in the pane at the bottom.
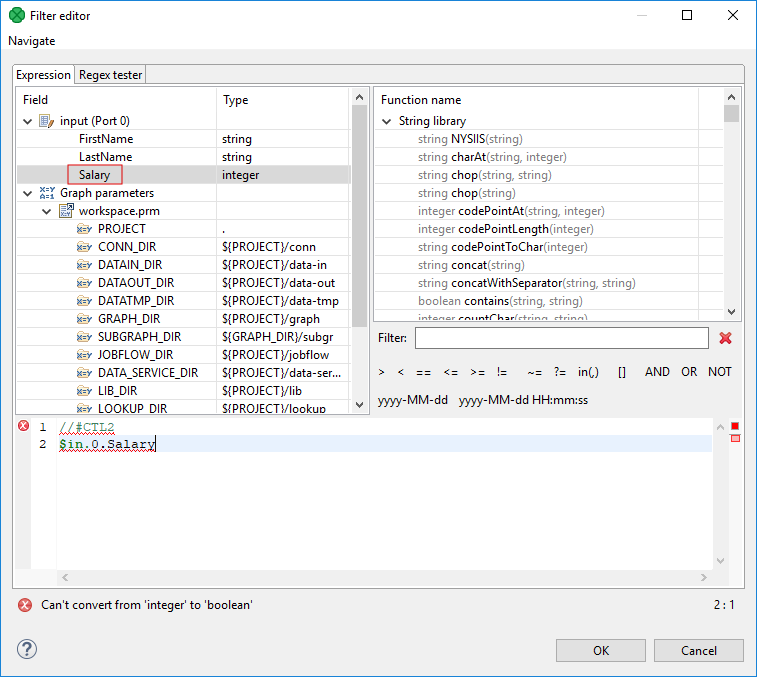
Figure 2.5. Selecting a Field
Note that CloverDX validates the expressions automatically. Now an error will be found.
Click on the right side from the $in.0.salary expression.
Select a "greater" sign by clicking.
It will appear in the pane on the right side from $in.0.salary.
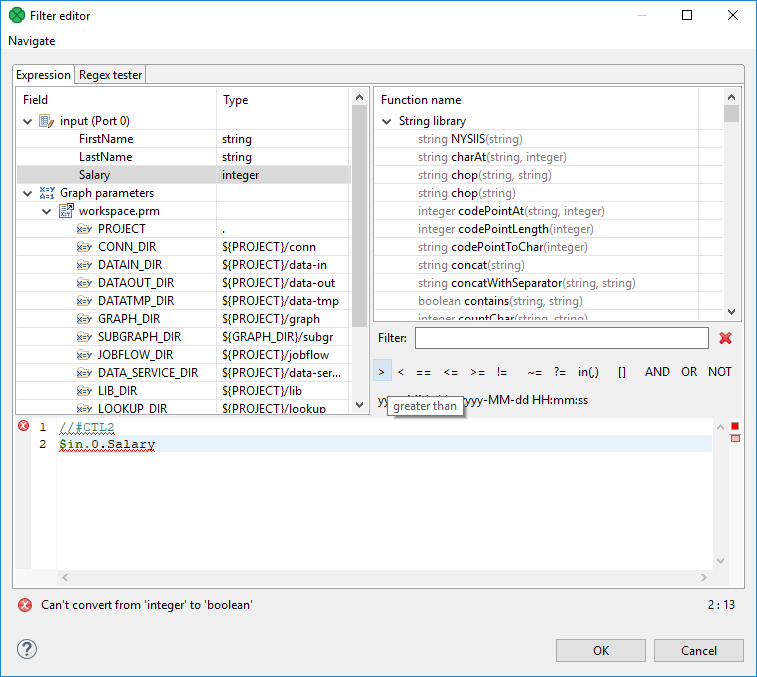
Figure 2.6. Selecting a "Greater" Sign
You need to complete the expression to make it valid.
Click at the right from the expression.
Then type 24000.
After typing the number, the expression becomes valid again.
The number is the salary that will serve to filter incoming data flow. Only data records with salary higher than 24000 will be sent out.
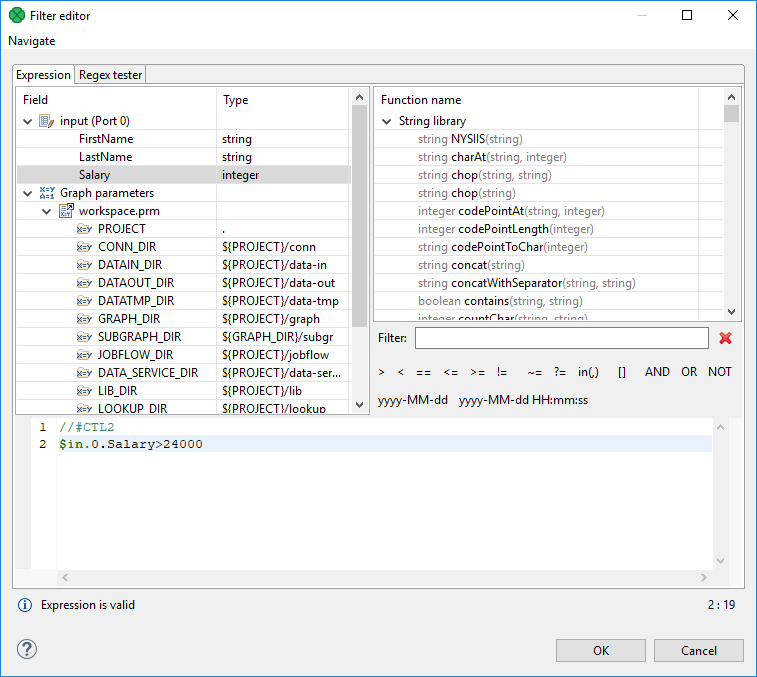
Figure 2.7. Filter Expression Defined
By clicking OK, you close the FilterExpression editor.
When you save the graph, you can see that the warning icon has disappeared from the Filter component:
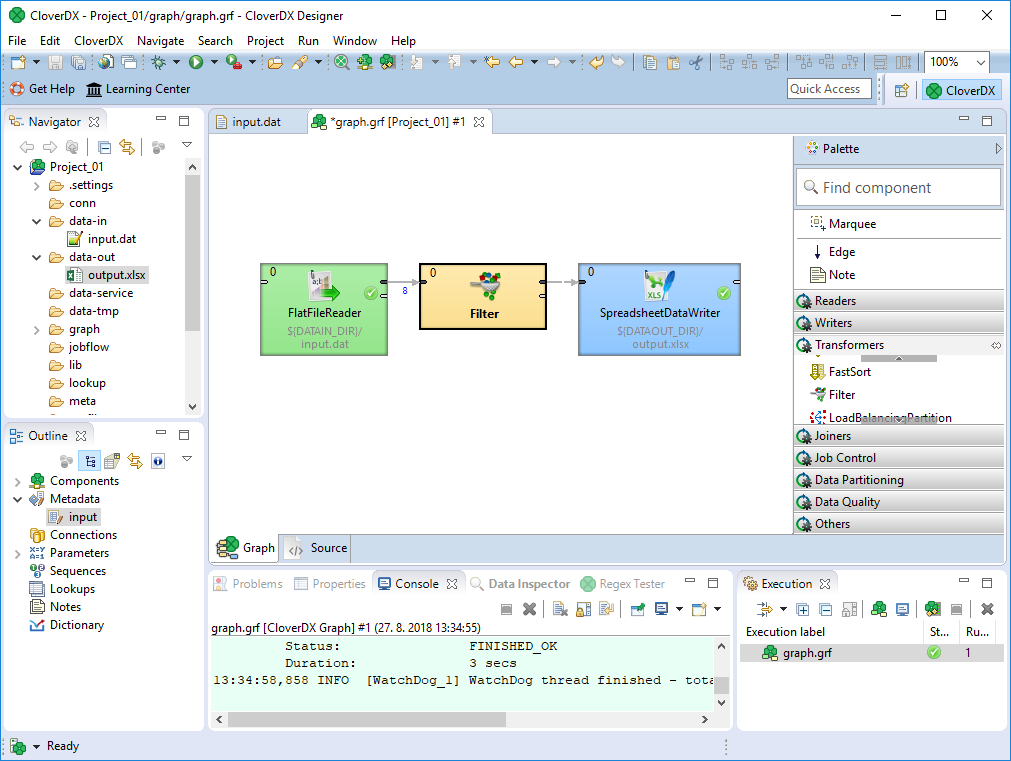
Figure 2.8. Warning Icon Has Disappeared
The Filter is configured and you can run the graph.
![[Note]](../figures/note.png) | Best practices |
|---|---|
It's better to filter and sort records than to sort and filter. If you need to split data into multiple (more than two) streams, use Partitioner. |
See also
Documentation on ExtFilter