15. Setup
While it is possible to configure CloverDX Server by modifying the configuration file in a text editor, the Setup with a user-friendly GUI offers a much easier way of configuring basic properties according to your preferences and requirements. Setup is accessible from Server Console under .
It lets you configure:
Remember that you should create a database for CloverDX Server and add a user/role for Clover with appropriate rights before you set up the connection to the database in the server’s Setup GUI.
CloverDX Server requires a working database connection for storing license information. Therefore, it allows you to access the Setup and configure the connection prior the Server activation - simply log in the Server Console and click the Close button. Otherwise, you would have to activate the server again, after switching from Derby to a new system database.
|
To access the Setup section, you need the Server Setup permission. |
|
To keep your settings and data in the case of a database migration (e.g. from evaluation to production environment), see Server Configuration Migration. |
Before You Start
Before you start using the Setup, you have to specify the path to the configuration file where the Setup saves the settings, and add required libraries to the classpath.
-
Specify the Path to the Configuration File
Setup uses the configuration file to save the server’s settings. The path to the file is specified by the
clover.config.filesystem property. Each application server has a different way to configure it; for more information, see the Specifying the Path to the Configuration File section. -
Add Libraries to the Classpath
As the next step, you should place the libraries required for further configuration on the application server’s classpath (in most cases, this is done by placing the files into a specific directory). You usually need a JDBC driver for the connection to the database or a
.jarfile with an encryption provider.For example, in the case of Apache Tomcat, copy the libraries to the
TOMCAT/lib/folder. Then, restart the application server. -
Configure Particular Items
Now, you can use the Setup to configure the rest of the Server’s features (see the following section). The configuration is then saved into a file defined in the
clover.config.fileproperty.If you wish to encrypt the sensitive data in you configuration file, set up the Encryption first.
-
Restart the Server (if needed)
Some changes require you to restart the Server. These changes are indicated by the
 icon.
Other changes (e.g.
License, Sandboxes, E-mail, LDAP) are applied immediately and do not require a restart.
Using Setup
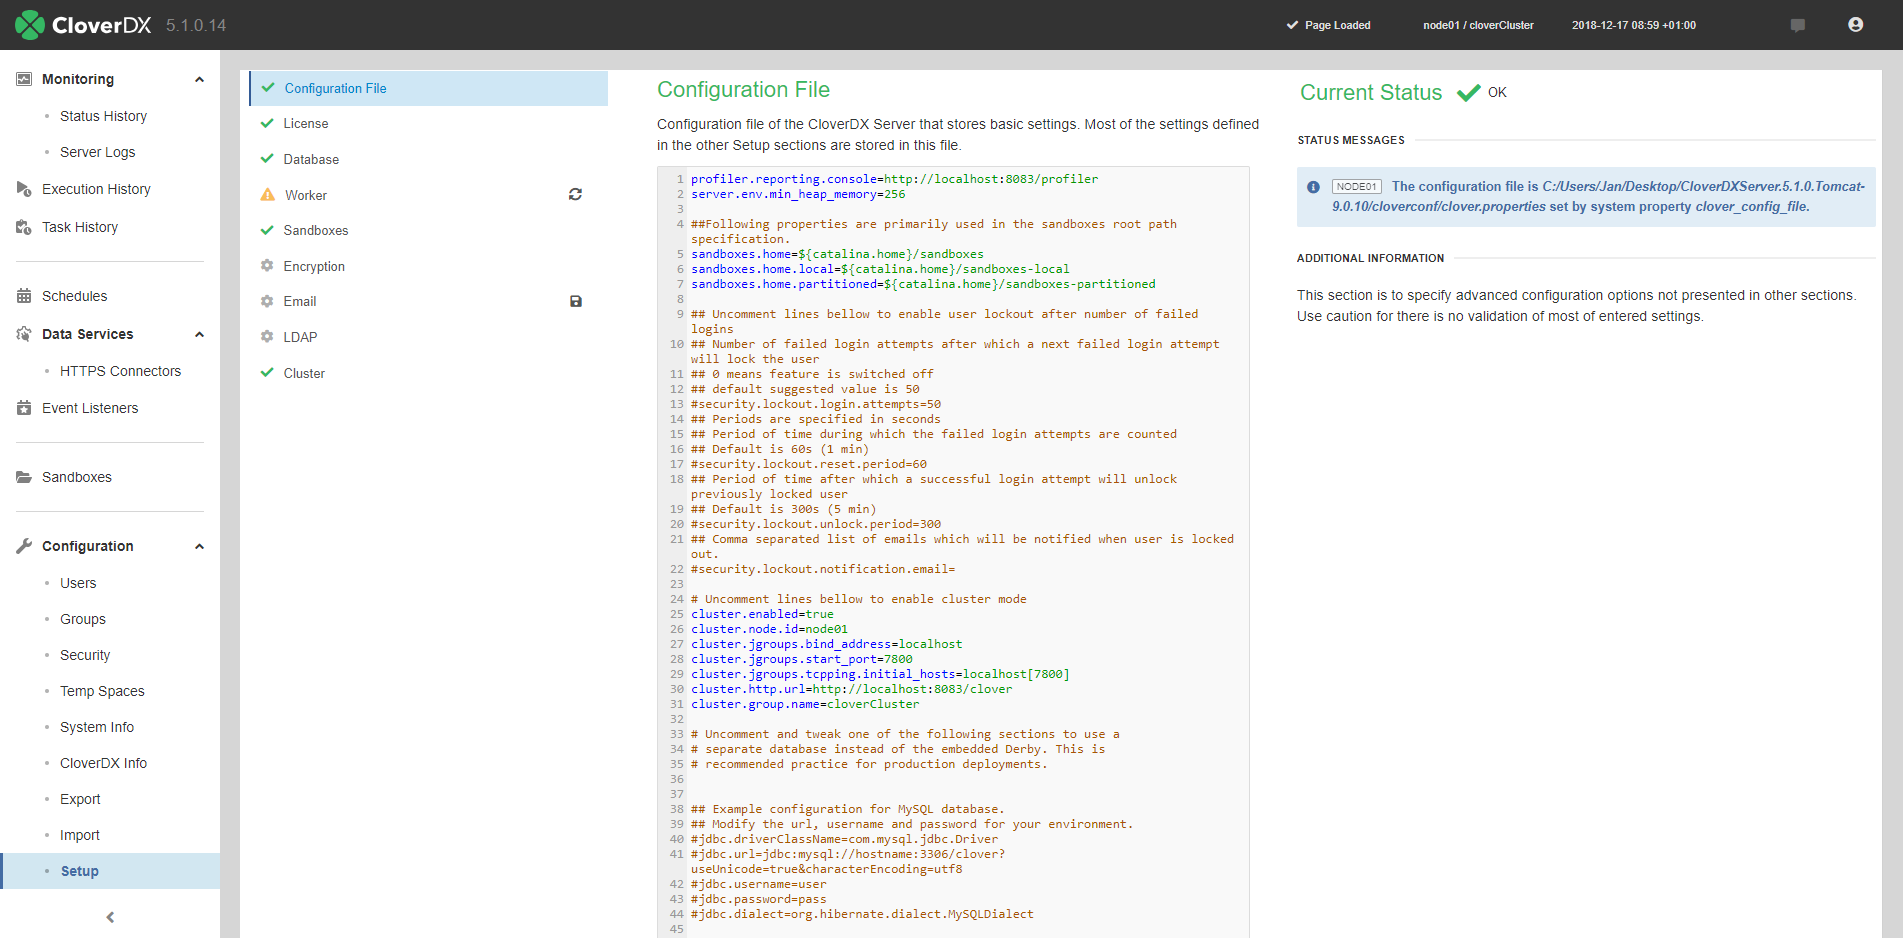
Each setup page consists of a menu with setup tabs on the left, a main configuration part in the middle and a configuration status and text on the right side.
The main configuration part contains several buttons:
-
Save saves changes made to the configuration file. The changes in the configuration must be valid.
-
Save Anyway saves the configuration even if it is invalid. For example, a database connection is considered invalid if a required library is missing.
-
Validate validates the configuration on a current tab. If you see the Save button disabled, use Validate to validate the configuration first.
-
Discard Changes discards unsaved changes and returns to currently used values.
The following icons can appear in the Server GUI:
 configured tab
 inactive tab
 error
error
 warning
 restart required
 pending changes which have not been saved yet
If an error/warning icon appears, a status message on the right side of the Setup GUI will provide relevant details.
If you start the Server without configuration, you will see decorators pointing to the Setup. The decorators mark problems which require your attention. The displayed number corresponds to the number of items.

Configuration File
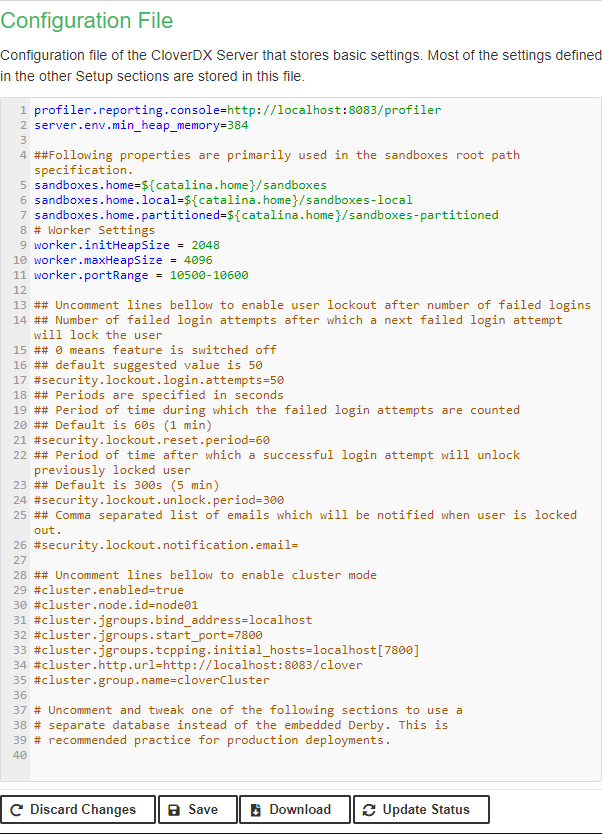
The Configuration tab displays the content of the configuration file. For basic setting, you do not have to edit the content of the file manually. Instead, use the particular Setup tab to configure the corresponding subsystem. For advanced setting, see List of Configuration Properties.
License
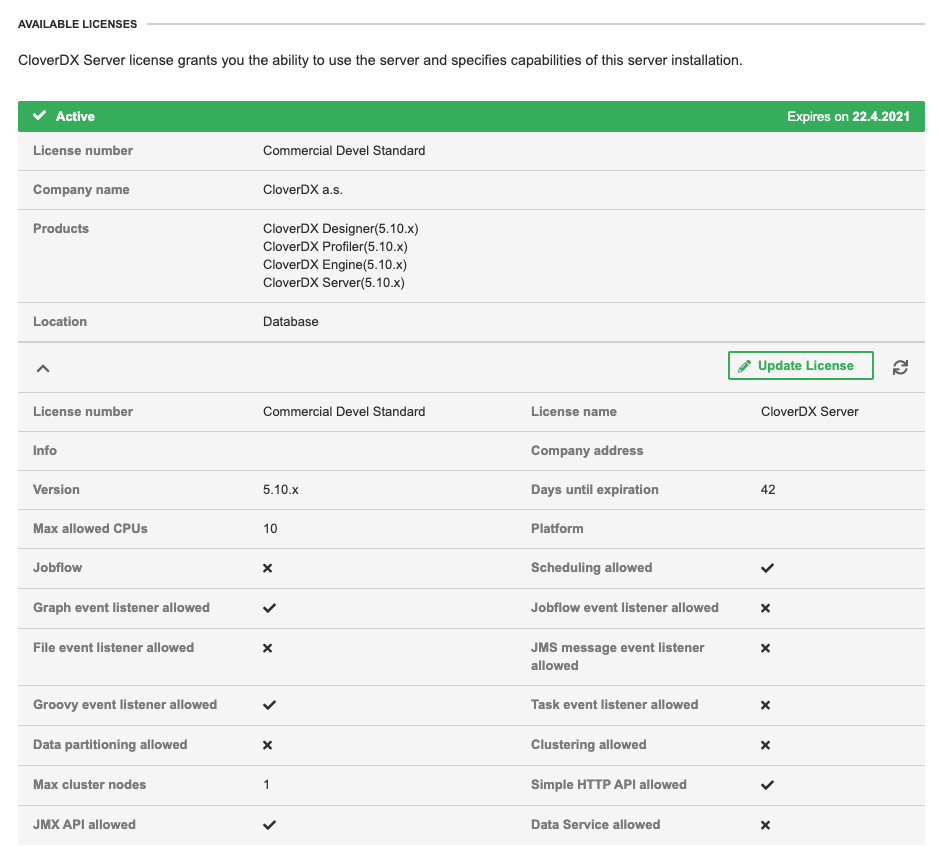
The License tab lets you add/update, show or reload the license. The type of the license determines what CloverDX Server's features are activated.
|
The license is stored in the database; therefore, you should configure the database prior activating the Server with a license. Otherwise, you will have to specify the license again. Similarly, if you change the database, you will be prompted to re-activate the Server. |
Database
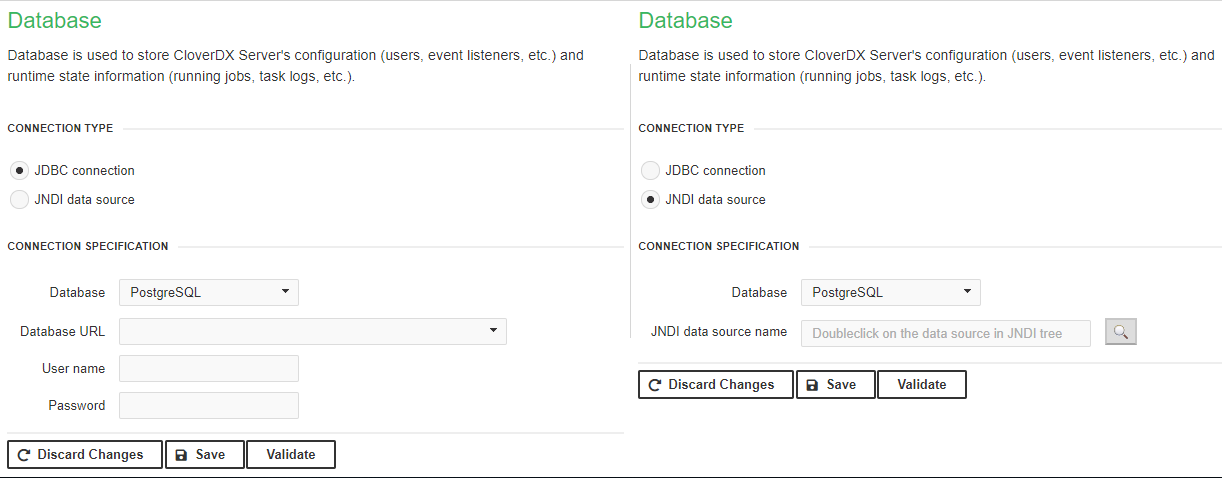
The Database tab lets you configure the connection to the database. You can connect via:
-
JDBC
Under JDBC connection, choose your Database from the first drop-down list. This will enable you to choose a Database URL template from the second drop-down list. In this template (e.g.
jdbc:postgresql://host:5432/dbnamefor PostgreSQL), replace the host and dbname keywords with proper values.Next, enter the User name and Password for your database (default User name/Password: clover/clover).
An Apache Derby JDBC 4 compliant driver is bundled with CloverDX Server. If you use another database system, add a JDBC 4 compliant driver on the classpath. -
JNDI
With JNDI, you can access the Datasource on an application server level. Select your Database and choose a suitable item from a JNDI tree For more information, see JNDI DB Datasource.
Worker
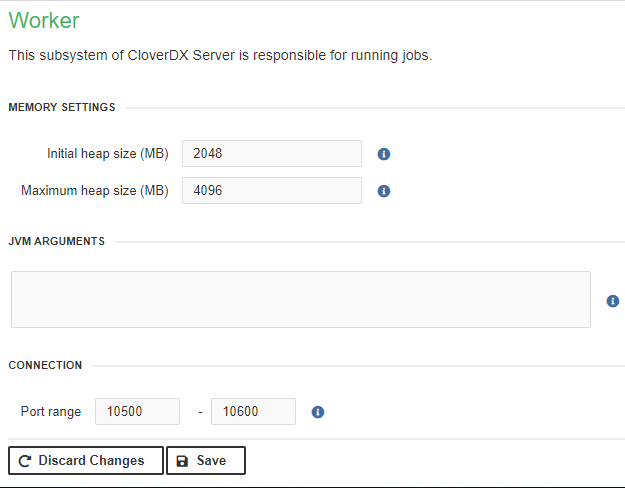
The Worker tab lets you configure Worker properties.
You can change Initial and Maximum heap size for Worker, include JVM arguments and set Port range for communication with Worker.
Changes in Worker require restart - click on the Actions button in the right pane and select Finish jobs and restart or Restart now.
Sandboxes
The Sandboxes tab lets you configure a path to shared, local and partitioned sandboxes.

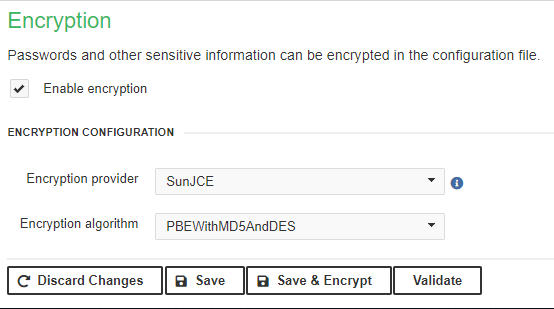
Encryption
To secure your sensitive data in the configuration file, you can use the Encryption feature. In the Encryption tab, choose a desired Encryption provider and Encryption algorithm; among the default algorithms, the PBEWithSHA1AndDESede is the strongest.
However, since the default algorithms are generally weaker, we recommend using Bouncy Castle - a free custom JCE (Java Cryptography Extension) provider offering a higher strength of encryption.
Note that in case you use a custom provider, the libraries have to be added on the classpath (in the same way as database libraries).
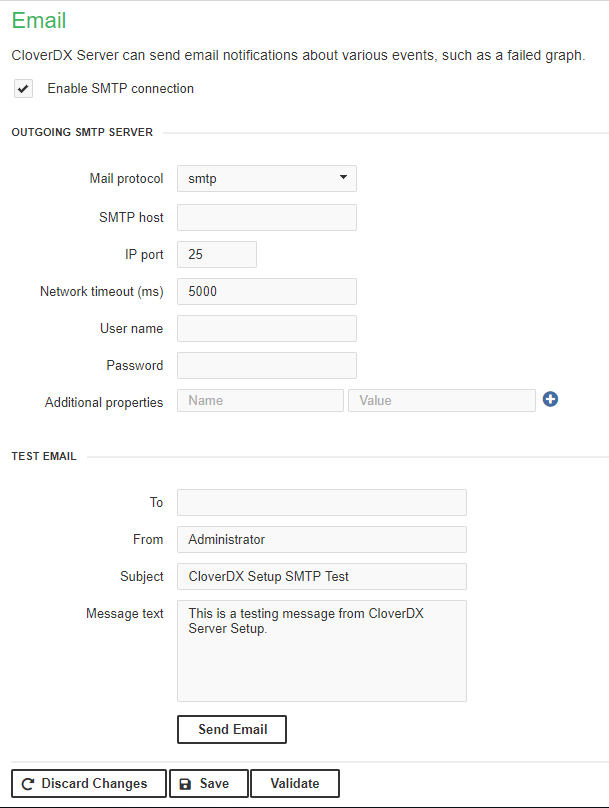
The E-mail tab lets you configure a connection to an SMTP server so the CloverDX Server can send an email reporting the Server status / events on the Server.
To make sure the configuration of the Outgoing SMTP Server is correct, you can try to send a test email from the dialog. Please note that if you select the SMTP protocol, STARTTLS is enabled automatically. If you want to disable STARTTLS, add an additional property called "mail.smtp.starttls.enable" and set its value to false.
LDAP
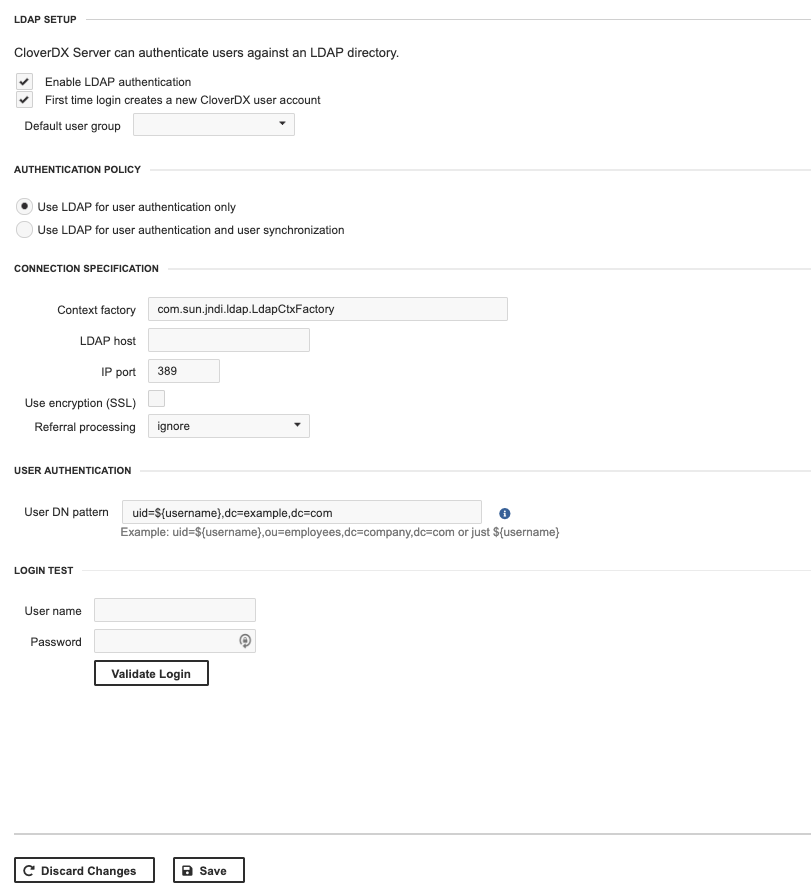
The LDAP tab lets you use an existing LDAP database for user authentication.
Specify a connection to the LDAP server and define a pattern for user DN. Login Test allows you to validate the login using any user matching the pattern.
For more information, see LDAP Authentication.
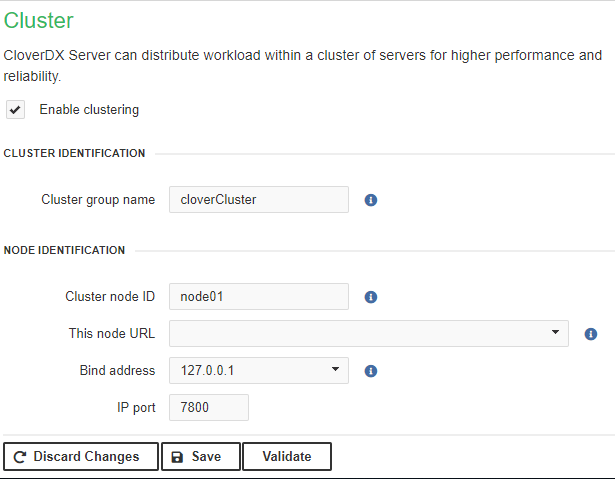
Cluster
The Cluster tab lets you configure clustering features.
In case your license does not allow clustering, the Enable clustering checkbox is grayed out and the note The license does not allow clustering. appears at the top.
For more information, see Cluster.
