File Profiling
Select Source File
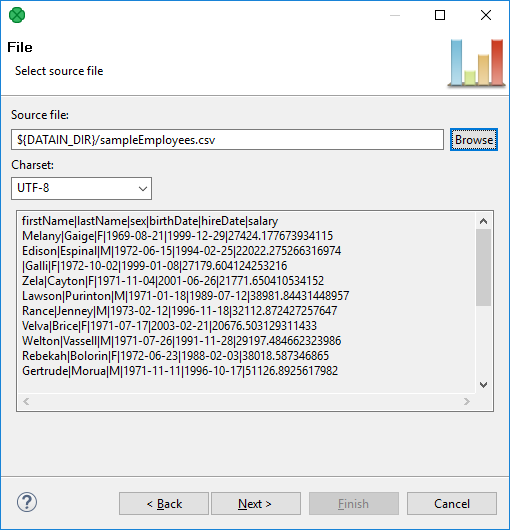
If you followed steps described in Creating Jobs and chose File as your data source, you are now in the wizard step which is shown below.
Use the Browse button to select your source file in the URL Dialog and specify the source file’s encoding - in the Charset combo-box (see the figure below).

Metadata
Profiling requires metadata of input file. Without metadata, profiling could not even start as the program would not know how to parse the input. Above all, metrics you use to analyze your data in CloverDX Data Profiler work just with these metadata.
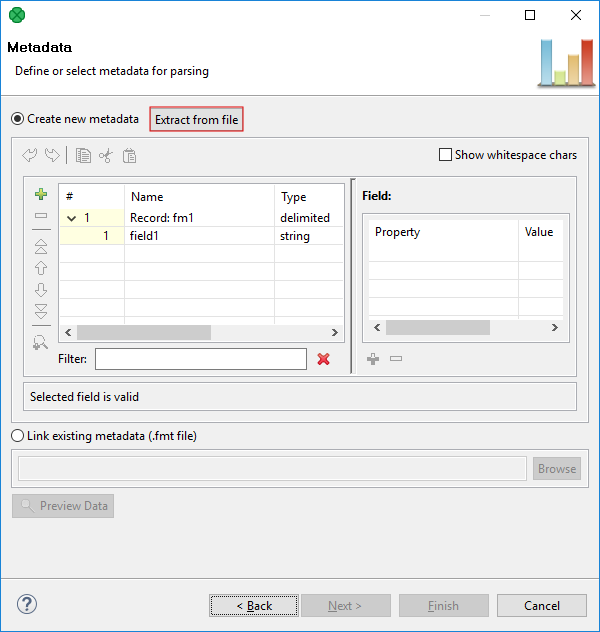
You can create a new metadata by hand, extract metadata from the file or use an existing metadata.
-
Creating new metadata by hand is described in Designer’s documentation.
-
The Extract from file feature can automatically "guess" metadata from the source file. Extracting metadata from file is done in the dialog shown below. Usually, you will just use the Next.
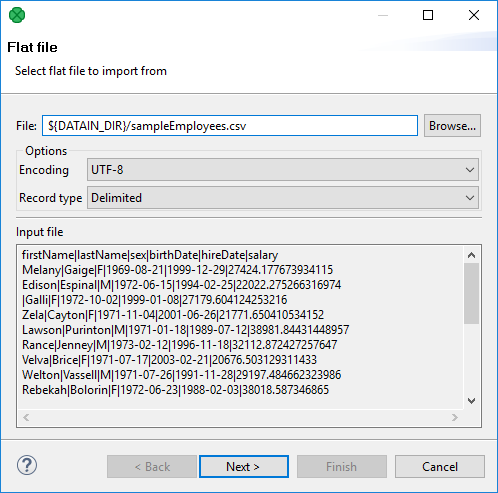 Figure 14. Choosing file to extract metadata from
To Extract names for your metadata fields, check Extract names and use Reparse.
For more information, see Extracting Metadata from a Flat File.
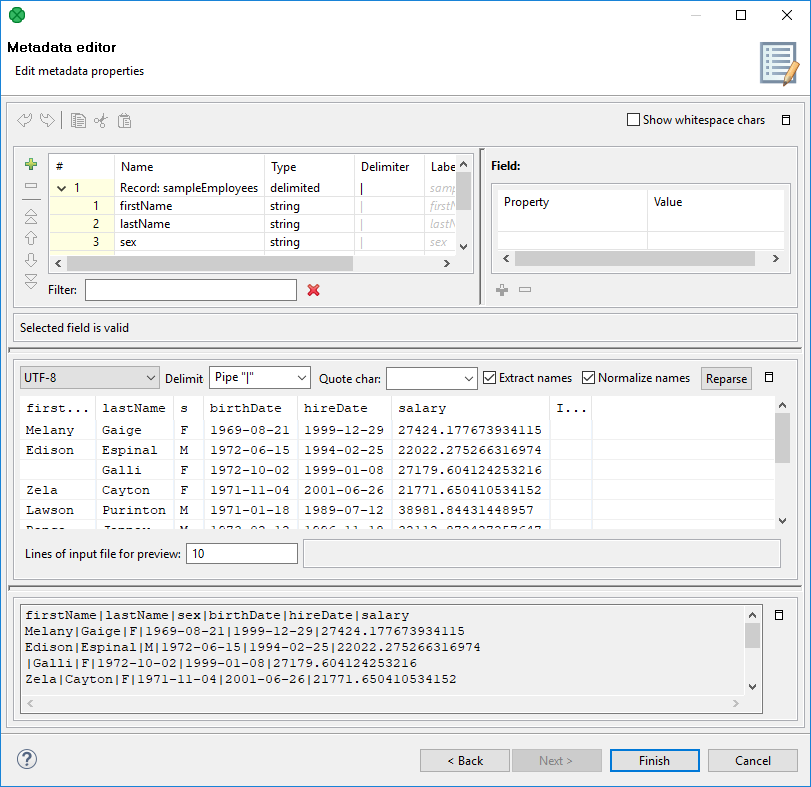 Figure 15. Extracting field names from metadata
 -
Link existing metadata (.fmt file) - use this option if you have the metadata related to your source file stored somewhere on the disk. Metadata in CloverDX Data Profiler and CloverDX Designer are fully compatible. Thus, you can e.g. export metadata from your CloverDX Designer graph and link it to your data profiling job in CloverDX Data Profiler.
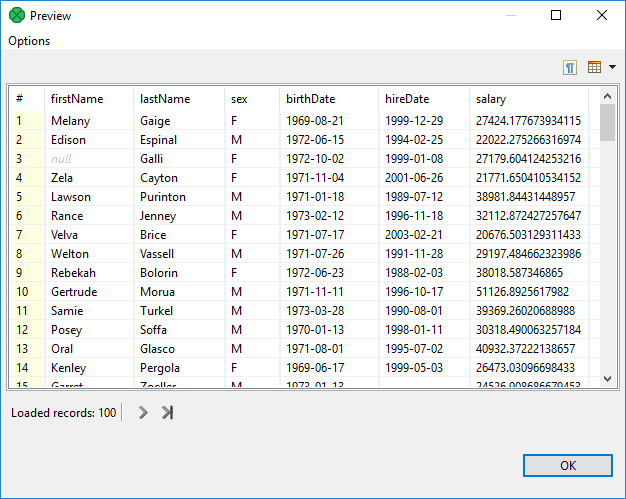
You can check whether fields were parsed from the input data correctly by clicking Preview Data and choosing the range of records.
|
Jobs are stored as |
Where to go next
