Version
Export Project as Library
A Library is a package containing reusable graphs, subgraphs, jobflows, data services or metadata installed on CloverdDX Server. Libraries can be also used to create data source and data target connectors to be used in the Data Catalog in CloverDX Wrangler. For more information on how individual library elements can be used and how to install CloverDX libraries, refer to our CloverDX Server documentation here.
Libraries are developed in CloverDX Designer as regular projects with graphs, subgraphs, jobflows, data services or metadata. When the development is finished, you can export the project into a package by selecting Export as Library… from the project context menu in Project Explorer.
|
If you want your library to have public configurable parameters, add a |
|
All OAuth2 connections, except unused connections, can be reviewed, updated, authorized, or re-authorized in CloverDX Server after installation. Note that OAuth2 connections are always exported as unauthorized, even when they were authorized during the development process. See Library OAuth2 Connections for more information. |
|
If you want to add a documentation page, which will be visible when browsing through libraries in a library repository, or when reviewing installed libraries in the Libraries section in the CloverDX Server console, the documentation must be in a separate file placed in the root of the source project before exporting the library. We support three file names (case-insensitive, in the preferred order):
|
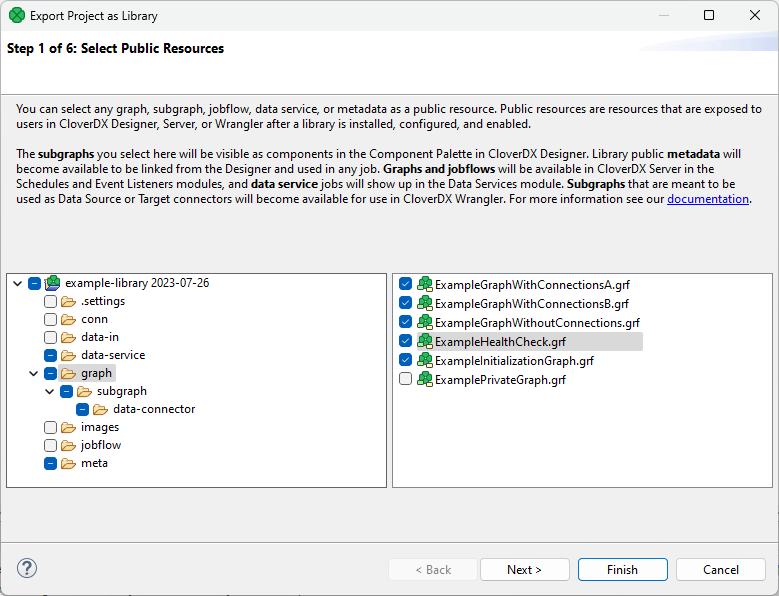
The action will open a wizard. On the first page of the wizard, you can select which elements should be public – visible to other users. Other elements will also be included in the package, but they will be hidden. These internal elements may be used as sub-routines in the public ones.
Figure 117. Export as library – selecting public resources
On the second wizard page, you can select data source connectors.
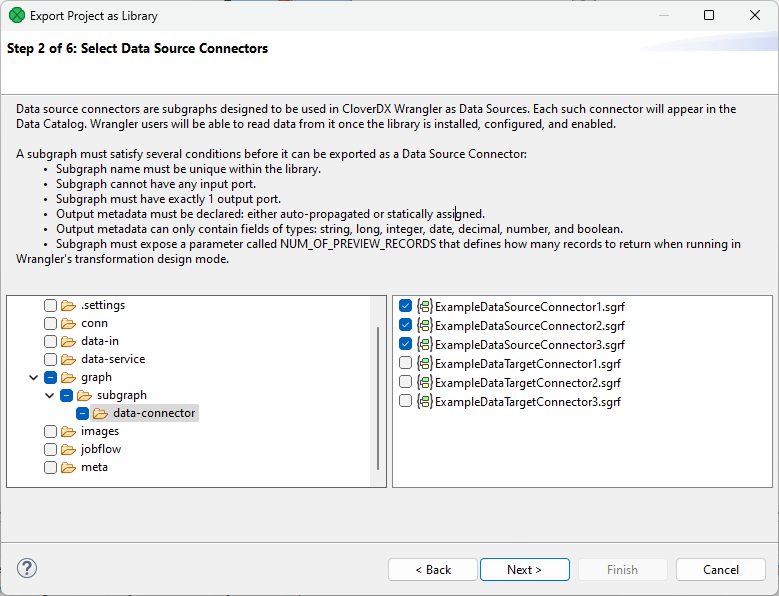
Figure 118. Export as library – selecting data source connectors
Data source connectors are special subgraphs that must meet the following conditions:
-
Subgraph name must be unique within the library; i.e., its name in the subgraph properties must not exist in a different subgraph.
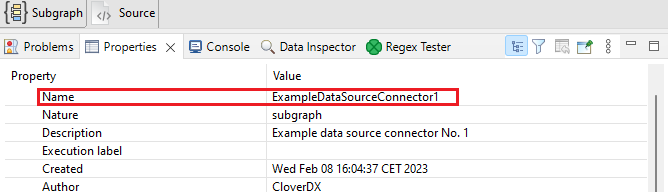
Figure 119. Subgraph name property
-
Subgraph cannot have any input port.
-
Subgraph must have exactly 1 output port.
-
Output metadata must be declared: either auto-propagated or statically assigned.
-
Output metadata can only contain fields of types: string, long, integer, date, decimal, number, and boolean.
-
Subgraph must expose a parameter called NUM_OF_PREVIEW_RECORDS that defines how many records to return when running in Wrangler’s transformation design mode.
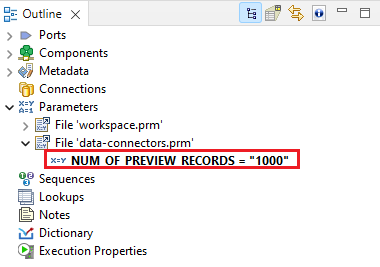
Figure 120. NUM_OF_PREVIEW_RECORDS parameter
On the third wizard page, you can select data target connectors.
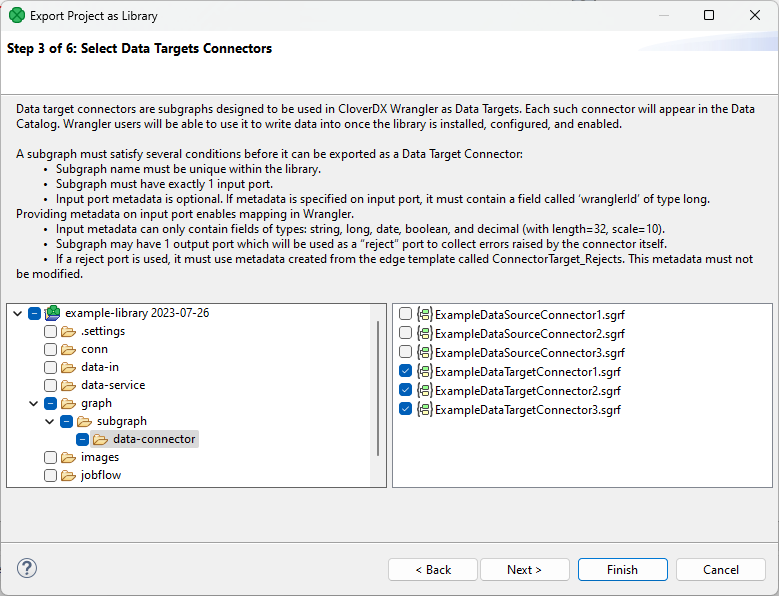
Figure 121. Export as library – selecting data target connectors
Data target connectors are special subgraphs that must meet the following conditions:
-
Subgraph name must be unique within the library; i.e., its name in the graph properties must not exist in a different subgraph (see Data sources section above for a screenshot).
-
Subgraph must have exactly 1 input port.
-
Input port metadata is optional. Providing metadata on input port enables mapping in Wrangler. If metadata is specified on input port, it must contain a field called ‘wranglerId’ of type long. This field is used to link your transformation data to errors reported by the target when generating the reject file.
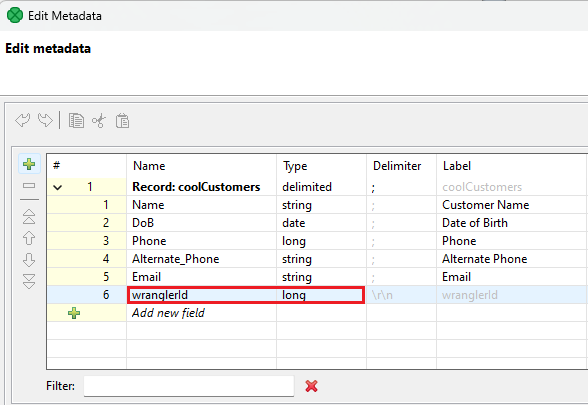
Figure 122. WranglerId metadata field
-
Input metadata can only contain fields of types: string, long, date, boolean, and decimal (with length=32, scale=10).
-
Subgraph may have 1 output port which will be used as a “reject” port to collect errors raised by the connector itself.
-
If a reject port is used, it must use metadata created from the edge template called ConnectorTarget_Rejects (right-click on your edge and navigate to New Metadata From Template > ConnectorTarget_Rejects). This metadata must not be modified.
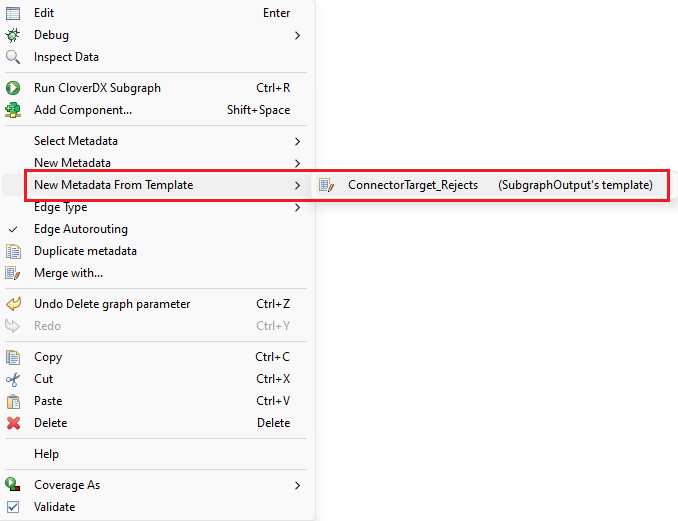
Figure 123. ConnectorTarget_Rejects metadata template
On the fourth wizard page, you can select one job (graph, subgraph, jobflow) which you may use as an initialization job for your library after you successfully install it on CloverDX Server. Note that an initialization job must not include required parameters.
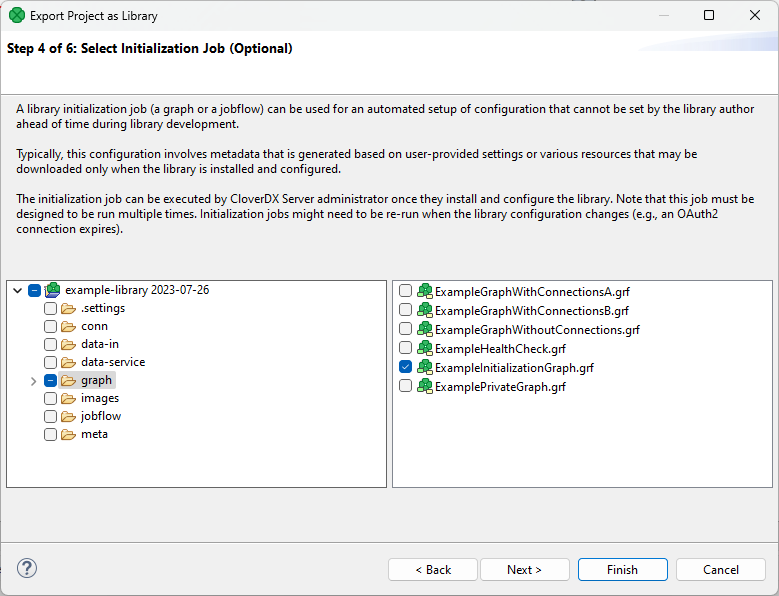
Figure 124. Export as library – selecting an initialization job
On the fifth page, you can select a Health Check job which will be used to monitor health of your library. Note that a Health Check job must not include required parameters.
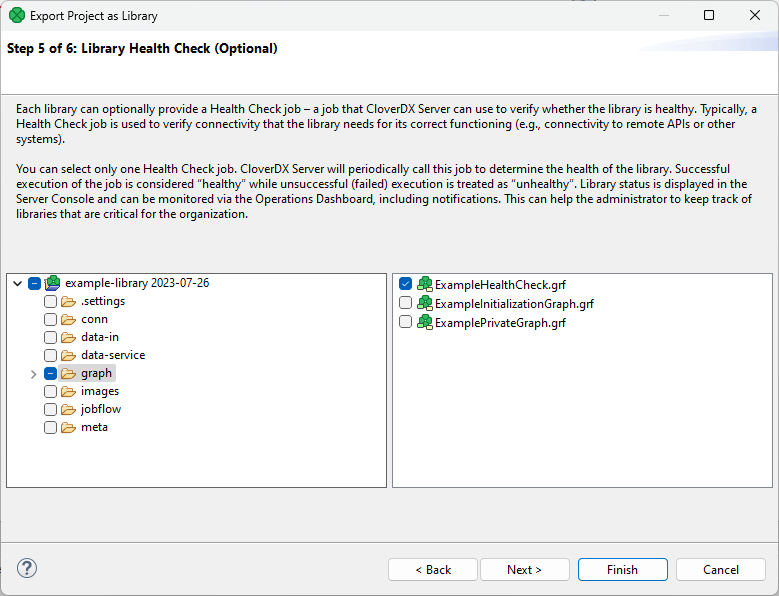
Figure 125. Export as library – selecting a Health Check job
On the last wizard page, you can give your library a custom Name, Author, Version and add a Description. Fields Name, Author and Version are mandatory.
Finally, you need to select the output file path.
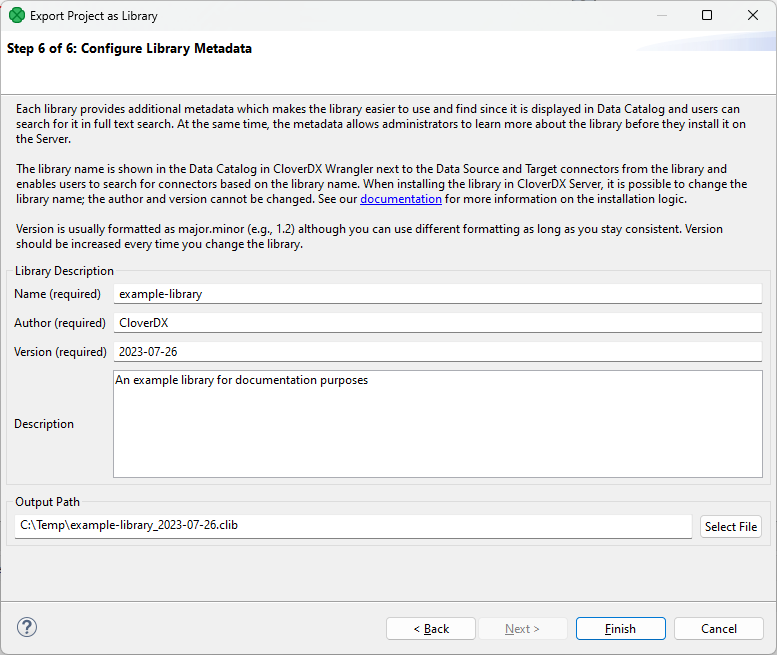
Figure 126. Export as library – configuring metadata
After pressing Finish, the wizard will package the project (excluding data-out and data-tmp directories) into a file with the “.clib” extension. An administrator can install the file to CloverDX Server in the Libraries section.
Best Practices for Libraries and Data Connectors
To learn more about how to effectively build a library or a data connector, please read our Best practices document.