Installation into Designer
The following steps are needed to install IBM InfoSphere MDM Components into CloverDX Designer:
Install CloverDX Designer, see its documentation for details. Designer can be installed as a standalone application or as an Eclipse plugin.
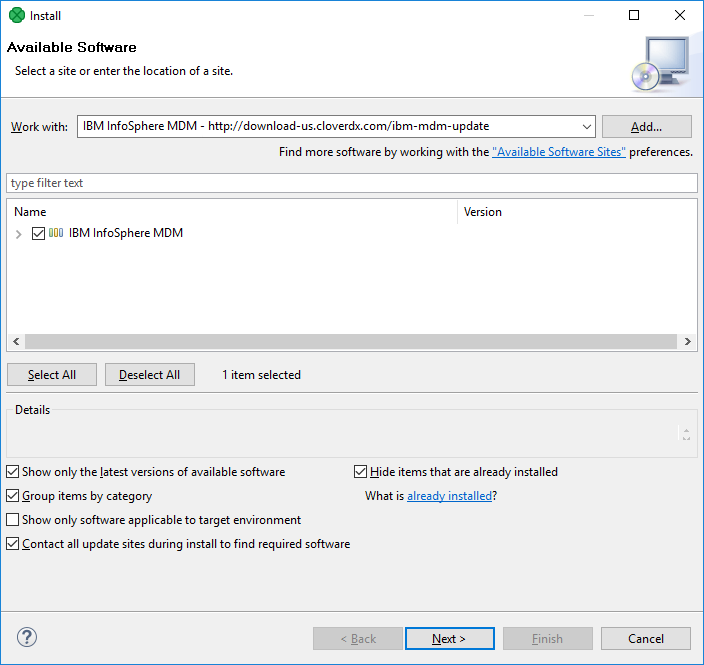
Start Designer and open the Install wizard via the Help > Install New Software menu
In the Work with: text box, enter the update site location for IBM InfoSphere MDM Components, e.g. http://download.cloverdx.com/ibm-mdm-update. See Downloading for update site locations.

Select all IBM InfoSphere MDM Components plugins by enabling the checkbox to the left of IBM InfoSphere MDM, click on Next button and proceed with the wizard.
After finishing the Install wizard and installing the plugins, you will be asked to restart Eclipse. After restarting, the IBM InfoSphere MDM Components are available for use.
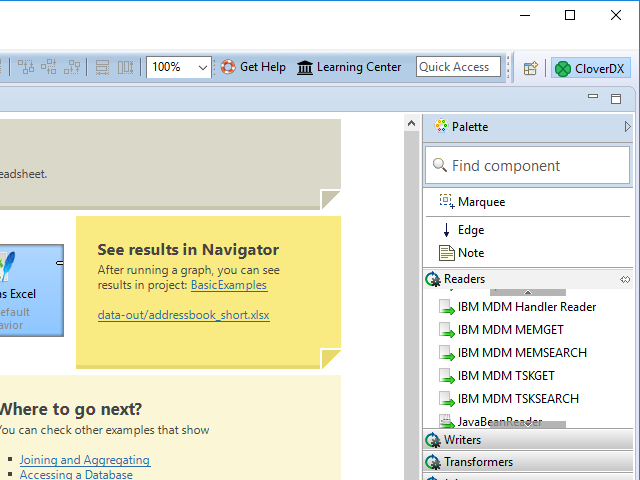
To verify that IBM InfoSphere MDM Components plugin was successfully installed, you can look into the Palette of an opened CloverDX graph and see IBM InfoSphere MDM components:
 IBM InfoSphere MDM component in palette
![[Important]](../figures/important.png) | Important |
|---|---|
If the Designer is reinstalled then it's necessary also to reinstall the IBM InfoSphere MDM plugin. If CloverDX Designer detects an older version of any plugin, the plugin is disabled until it's upgrade. |
Troubleshooting
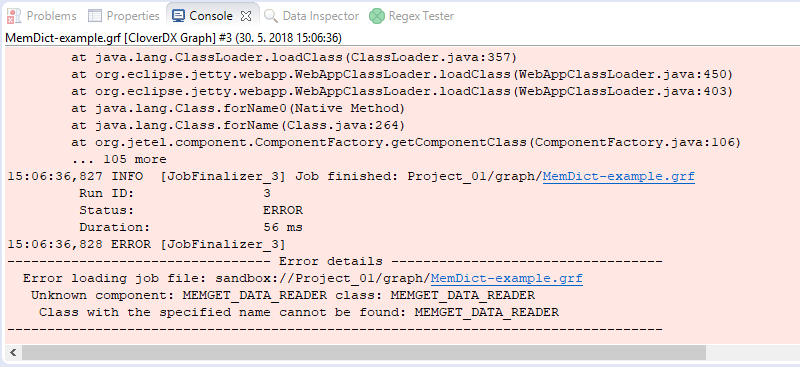
If you get an Unknown component or Unknown connection
error when running a graph with IBM InfoSphere MDM components,
it means that the IBM InfoSphere MDM Components plugin was not installed successfully.
Please check the above steps to install the plugin.
Example of the error:

