Version
CloverDX Server Project
From the CloverDX perspective, select .
CloverDX Server Project wizard will open and guide you through the creation of the Server project.
Connection to CloverDX Server
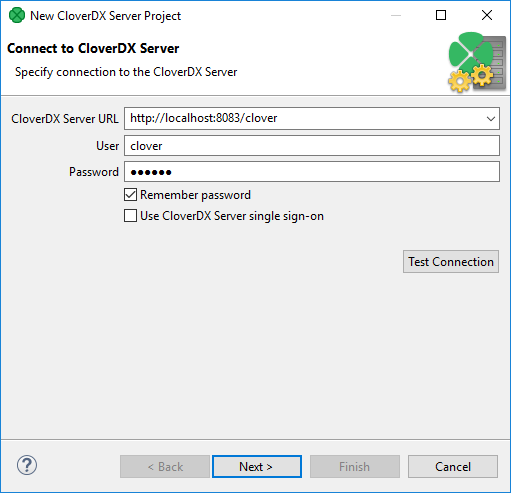
The first step is to create a working connection to the CloverDX Server. Fill in CloverDX Server URL, User and Password.
Figure 52. CloverDX Server Project Wizard - Server Connection
|
Single Sign-on Login
Since 5.2.0, CloverDX supports single sign-on (SSO) by the Security Assertion Markup Language (SAML) 2.0 protocol. To use SSO, check the Use CloverDX Server single sign-on option. Once selected, a new option appears which allows you to log in as different user if checked; if unchecked, CloverDX Designer attempts to log in using credentials of the last signed-in user. Note that if you use the SSO login option, you will be redirected to the identity provider’s sign-in page. For more information, see the SAML Authentication section. |
You can verify the validity of the connection using the Test Connection button.
Once a connection to the CloverDX Server is established, continue with the next step.
Selecting or Creating a Sandbox
The second step of the wizard is to select an existing or create a new CloverDX Server sandbox. The sandbox will correspond to the project.
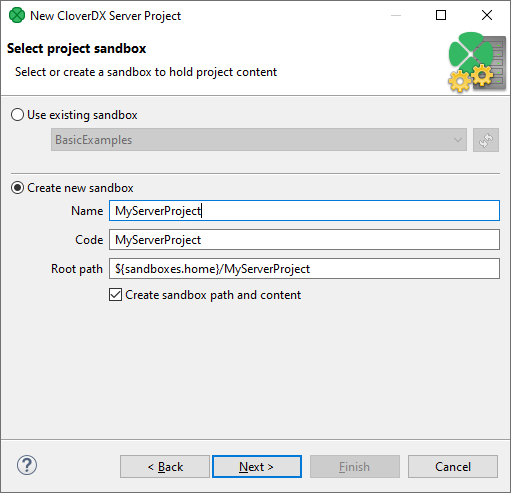
Figure 53. CloverDX Server Project Wizard - Sandbox Selection
Use an existing sandbox or create a new one. In case you decide to create a new sandbox, the form is similar to the one present in the CloverDX Server web interface, however only a Shared sandbox can be used in Designer. For further description of sandbox properties, see Sandboxes - Server Side Job Files.
One sandbox can be connected to a single workspace project only.
Press the Next button to create a new sandbox.
Specify Project Name
The last step is to specify the name of the new CloverDX Server project. Keep the other values (Location and File system) unchanged.
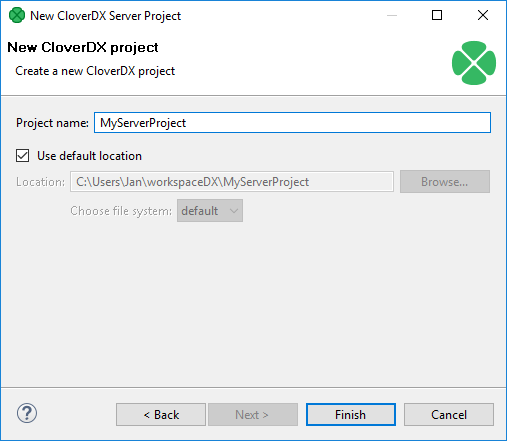
Figure 54. Naming a New CloverDX Server Project
Click the Finish button to create a CloverDX Server project.